Have questions about paid ads, campaign optimisation, or platform features? Browse our knowledge base for step-by-step guides, FAQs, and expert insights to help you succeed.
Managing LinkedIn Ad Users
On This Page
While signed into your LinkedIn profile, you will have the following menu at the top screen.

Click the “Advertise” button at the right end of the menu.
You will get a list of ad accounts that you manage, click the one that you want to manage.
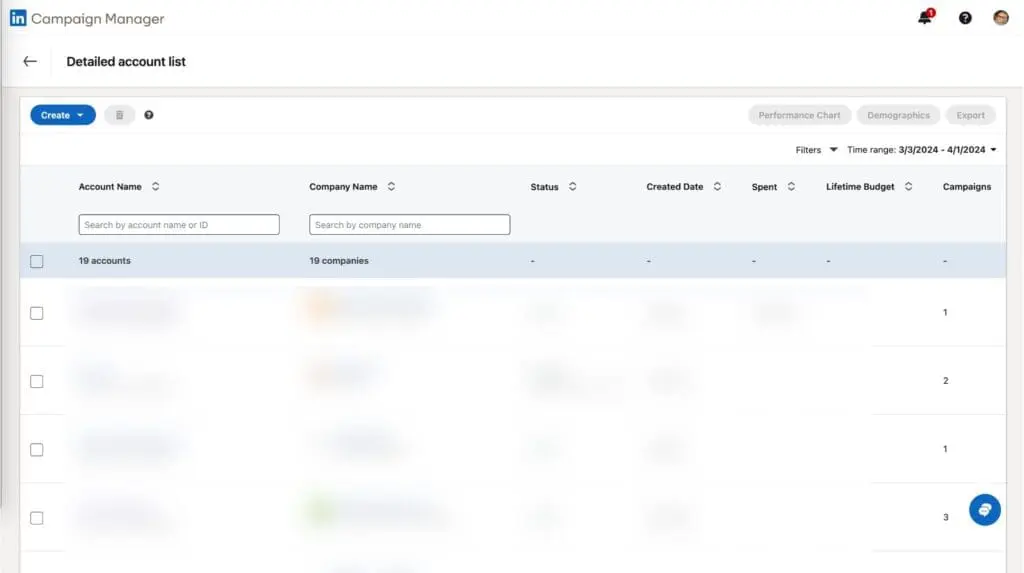
Once in the ad account screen of your choosing, there will be a menu on the left side, under the “Account Settings” item, click “Manage Access”


On this screen, you will see all existing users that have access to your ad campaign
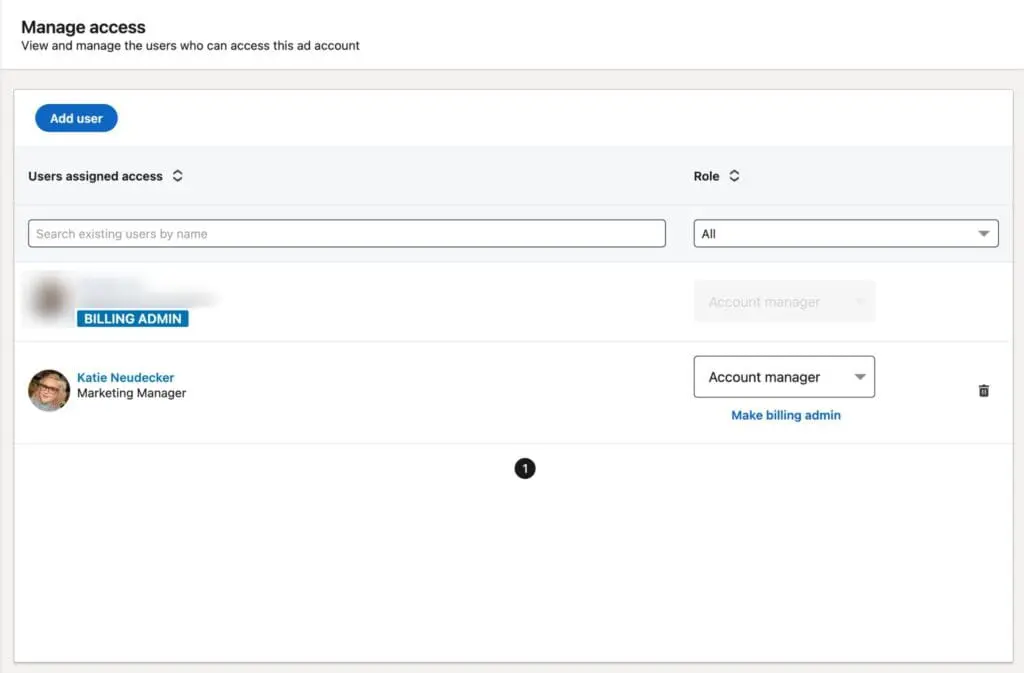
Adding A New Admin
On this Manage Access screen, click the “Add User” button
A pop-up window will open for you to type the name of the person you would like to add.

Once you see the person you would like to add, click their name from the list.

Now choose what type of access you want them to have:
Account manager: The user can control account settings, access the billing center, download account reports, add and edit campaigns (status, bid, budget), and add and edit ads (headline, image & copy).
Campaign manager: The user can add and edit campaigns (status, bid, budget) and ads (headline, image & copy).
Creative manager: The user can add and edit ads (headline, image & copy).
Viewer: The user can view campaigns and ads.
Billing Admin: Billing Admins can change billing details on the account, view account billing history, and print payment receipts.
Once you have chosen the access, click “Add”
Still haven’t found what you’re looking for?
Let us know and we’ll do our best to help out!