1. If you have been set to admin on a HeyOrca calendar, you will have received an email when you were added, to set up a login.
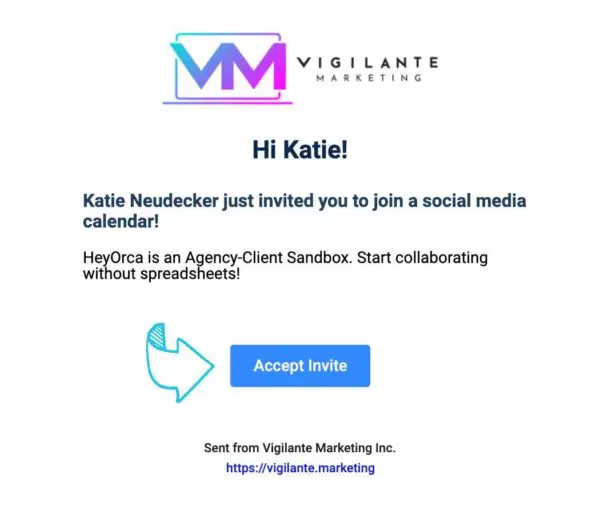
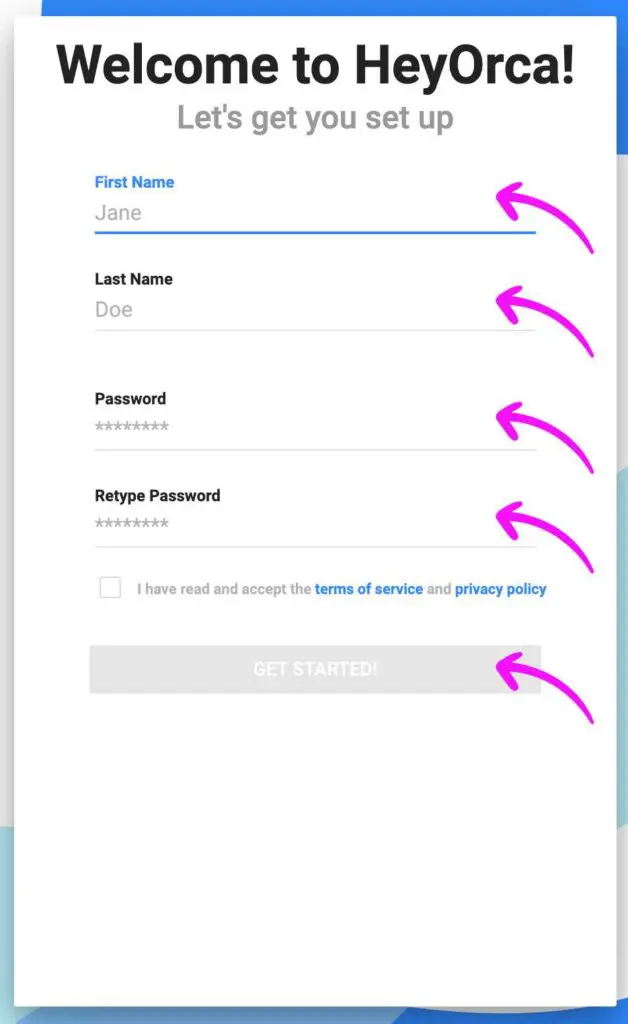
2. Click on the link, and fill out your information.
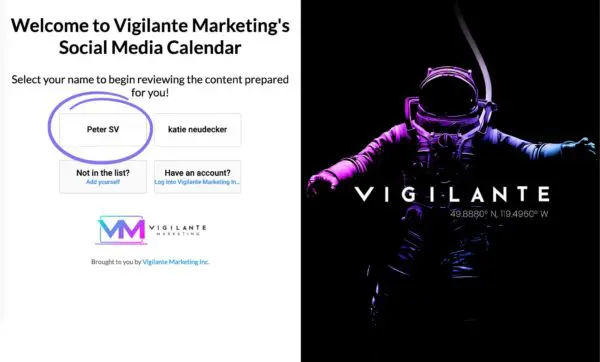
3. Once the VM team completes the month’s social media for approval, you will receive a universal access link that takes you to your calendar.
- If you are already signed in, you will automatically be taken to the calendar.
- If you are not already signed in, the screen below will appear, select your name from the list and sign in if asked to.
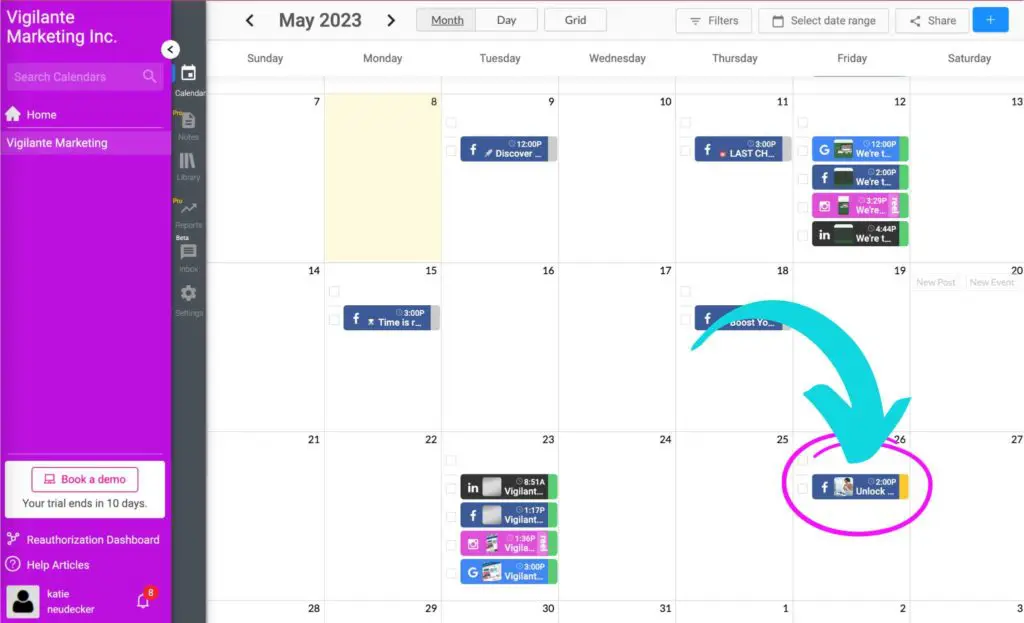
The colour on the right-hand side of social media posts indicates their status:

Blue are posts have already been released.

Gray are draft posts – these are not ready to be reviewed.

Yellow posts are “awaiting approval” – these will be the ones you will review and approve or add revisions.

Red are posts that you have made revisions on.

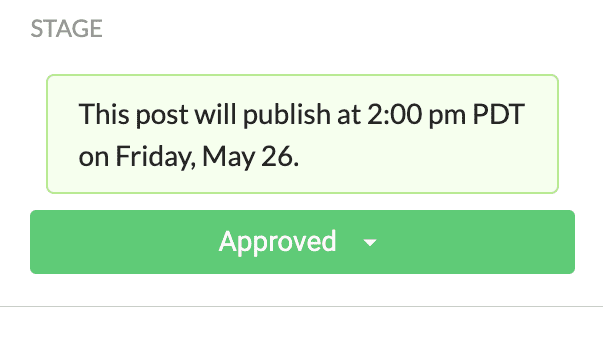
Green are “approved” posts – please note if you have set them to approved, they will automatically be released on the scheduled date and time.
4. Click on the yellow posts to review them.
5. A screen will pop up within the previous screen, showing you the social media post with imagery, content, links, tags, and hashtags, as well as the date and time that it is set to be released.
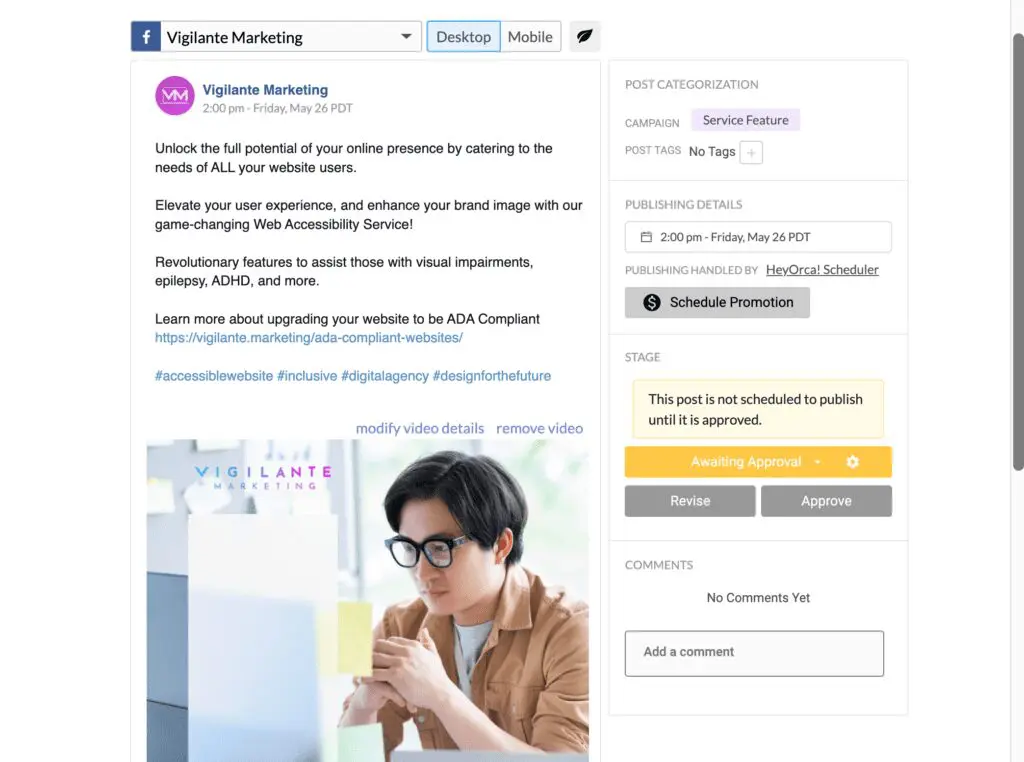
6. Review the post in its entirety
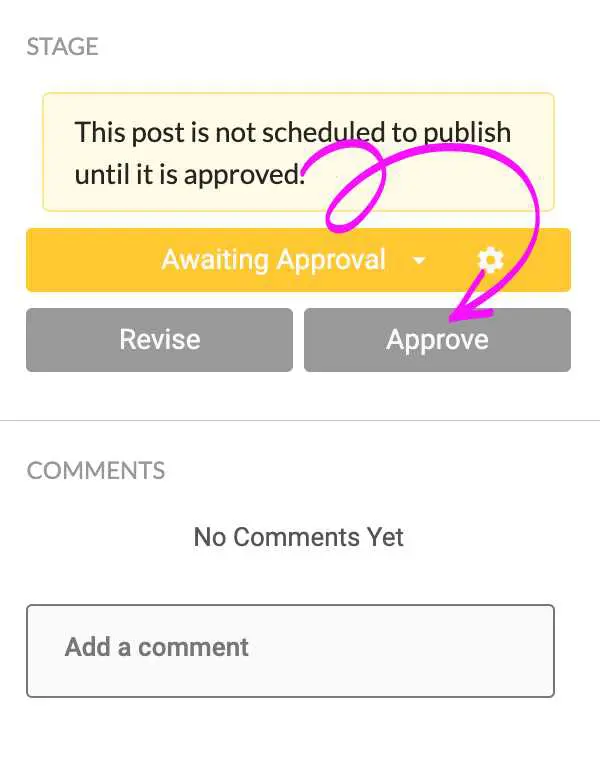
If approved as is, click “Approve.”
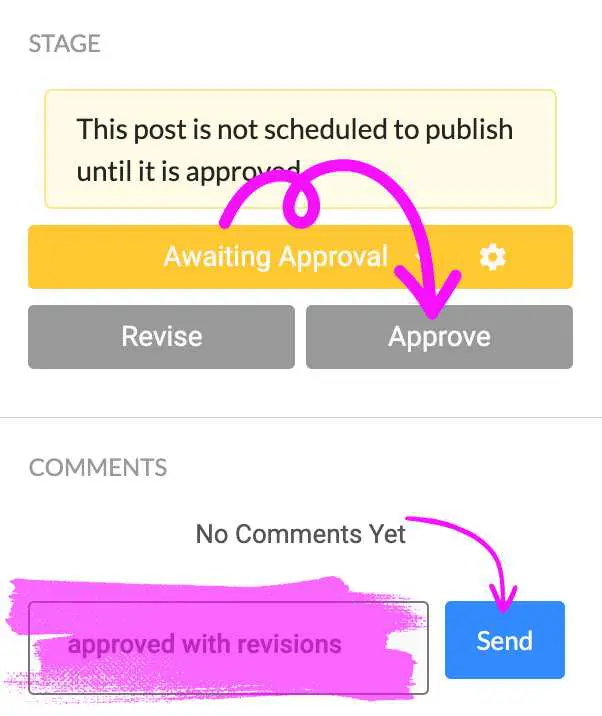
If revisions for content need to be made; you are able to make them directly in the text box. Add a note in the comment section that it is “approved with revisions” and press “Approve.”
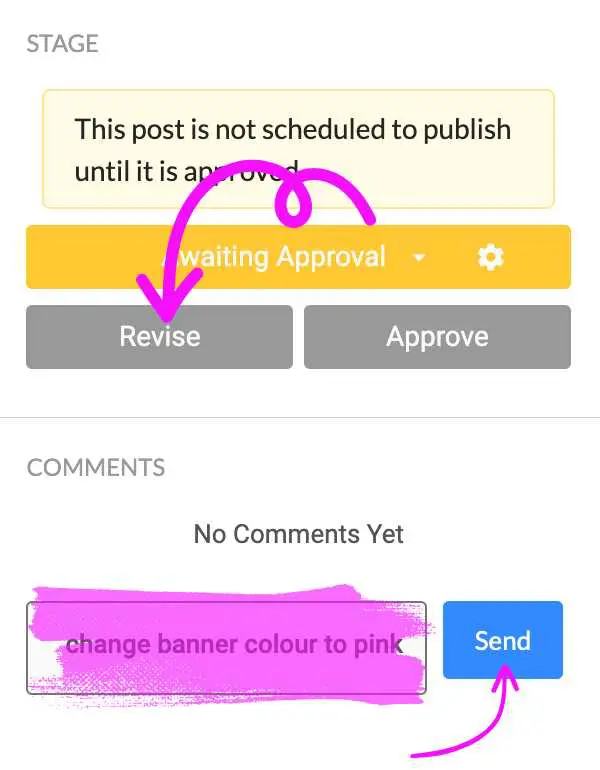
If the imagery needs to be revised, add a note in the comment section on what needs to be updated and set the post to “Revise.”
Once you have updated the status, the VM team will receive a notification.
Please note if you have set a post to approved, it will automatically be released on the scheduled date and time.
Still haven’t found what you’re looking for?
Let us know and we’ll do our best to help out!
