Have questions about paid ads, campaign optimisation, or platform features? Browse our knowledge base for step-by-step guides, FAQs, and expert insights to help you succeed.
How to Create an Ad Campaign on LinkedIn
On This Page
From your LinkedIn company page, select “Advertise” from the top-right menu.

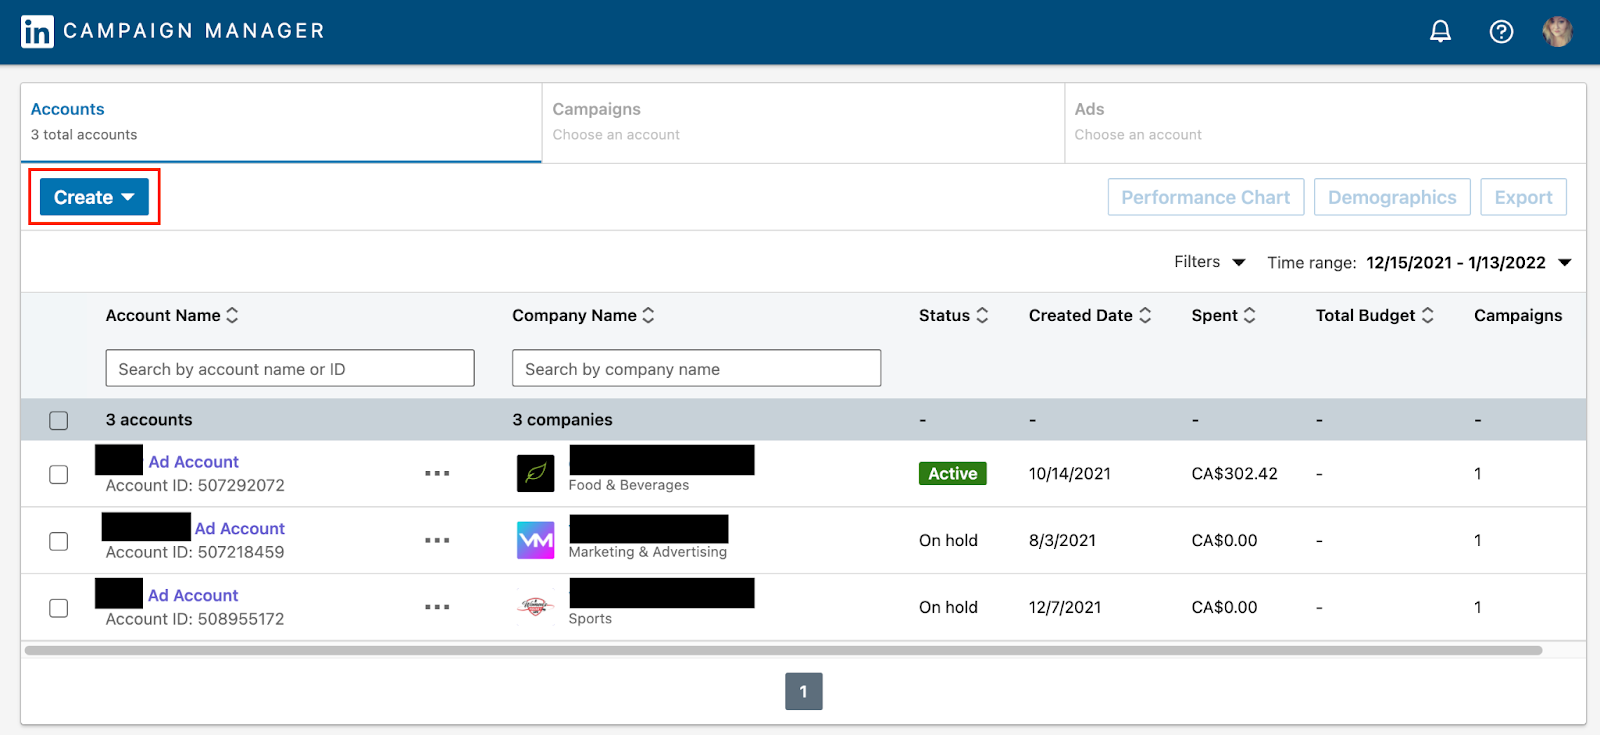
A new window will open. This page is your “Campaign Manager.” You can view all of your ad accounts’ statuses. Select “Create” to create a new ad account for your business if one does not already exist. If an ad account already exists, select that ad account to create a new campaign.
A pop-up will appear. Fill in the name of your ad account, your currency, and the LinkedIn page you wish to associate with the ad account.

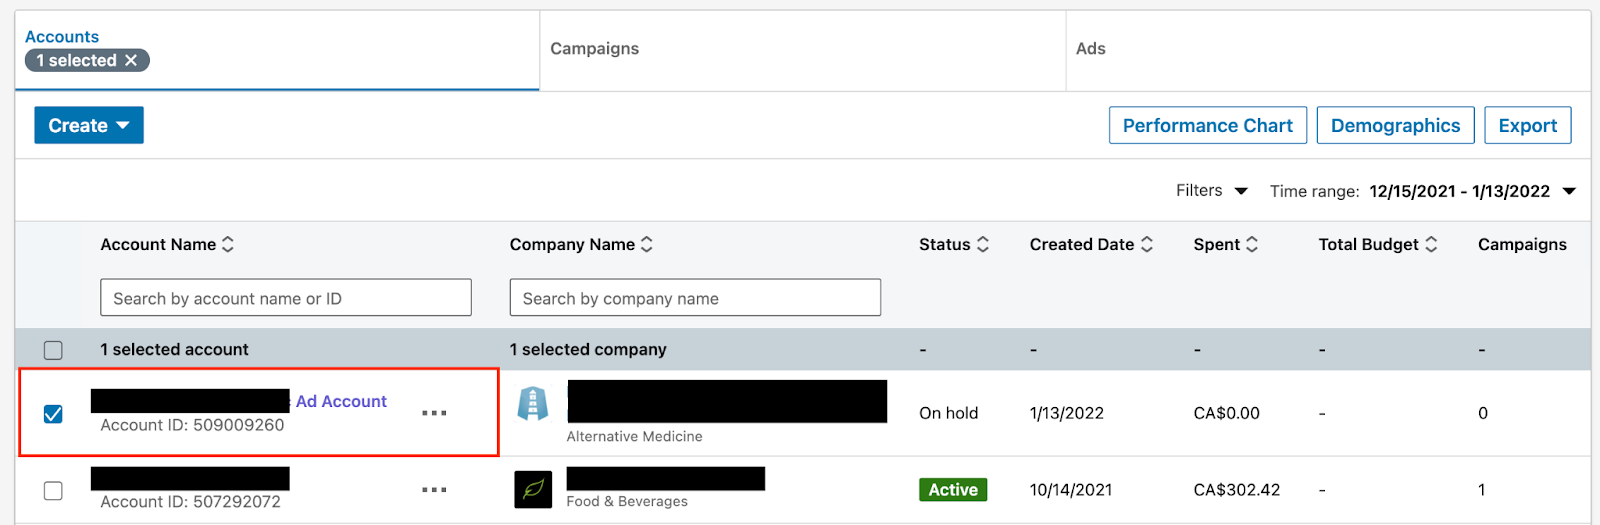
Select the ad account you want to begin a campaign for.
On the new campaign group page, select the three dots next to “New Campaign Group.” A box will appear; select “Manage.”

A new pop-up will open. Fill in your campaign name, status, and start date of the ads. Once each section has been completed, select “Save.”

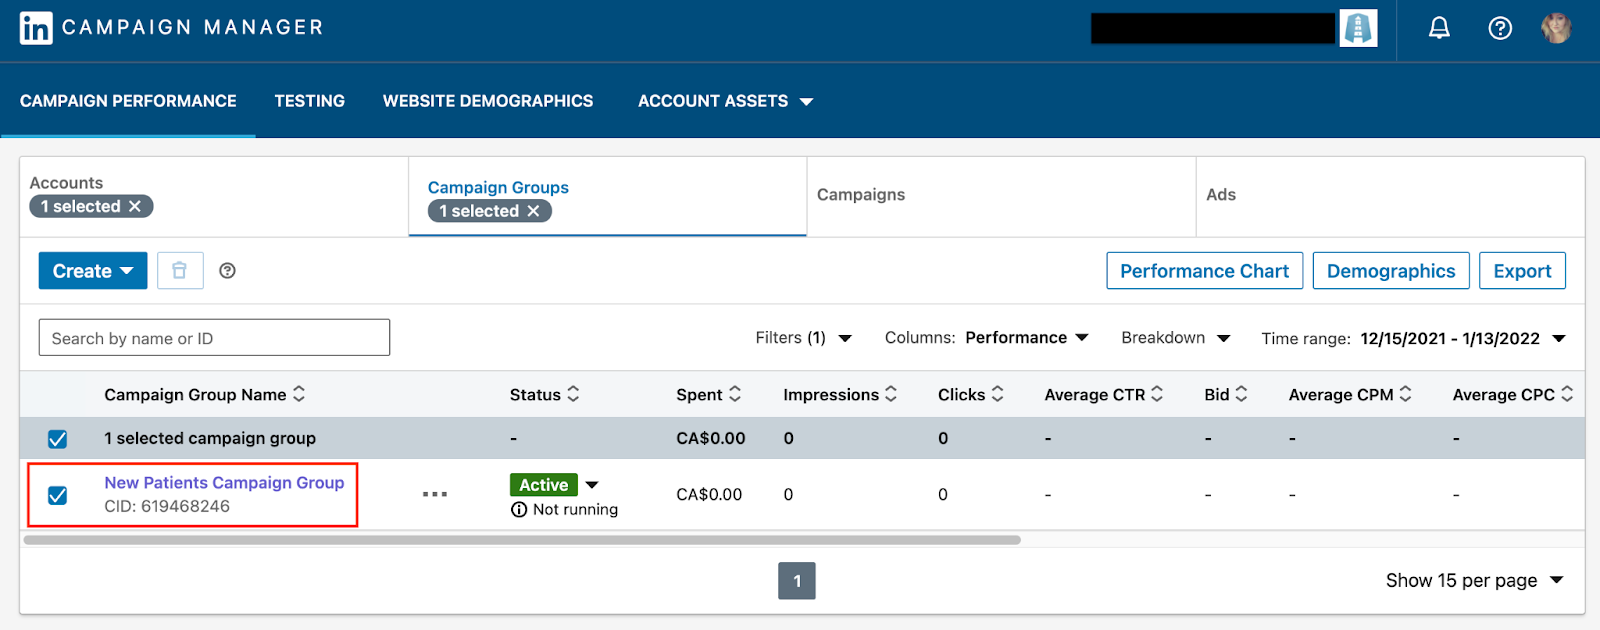
Select your campaign group to be taken to the campaign section.
In the campaign section, select “Create” and “Campaign.”

You are now ready to build your campaign. Begin by naming the campaign.

After naming the campaign, select “Next.”

Select your campaign objective such as “Brand Awareness” or “Website Conversions.” If you are unsure of what your campaign objective is, hover over each option to discover the definition of each objective.

After selecting your campaign objective, create your audience by choosing locations and the audience attributes you want your ad to target.

Once you’ve created your audience, select “Save Audience”. A pop-up will appear. Fill in the sections in the pop-up and select “Save.”


You can now choose the type of format you would like your ad to be displayed in. If you are unsure of what format means, hover over each one for a description.

Next, you will set up your desired budget for the campaign. The minimum budget allowed is $10 per day. Complete the budget amount, start date, and the bidding strategy.

If you have chosen an objective that requires conversion tracking, complete the conversion section at the bottom of the page.
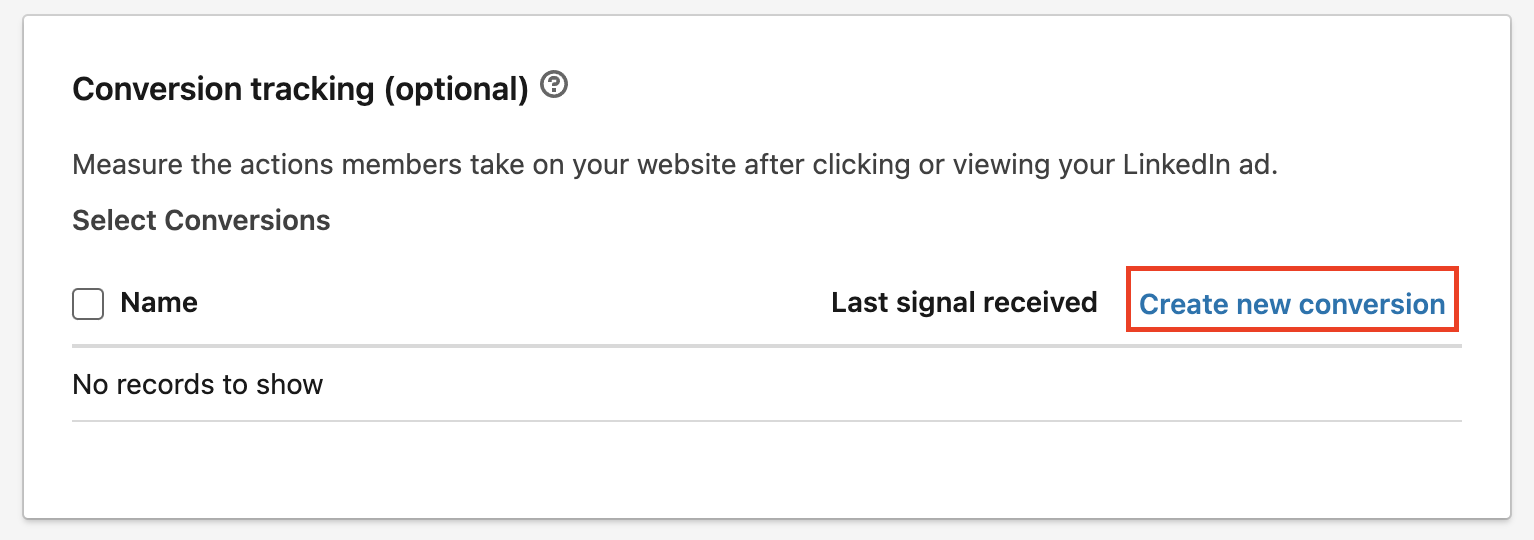
After selecting “Create new conversion”, a new section will appear. Begin by naming your conversion.

Next, enter all of your conversion settings.

The final step to setting up the conversion tracking for your campaign is to define how you would like to track conversions. We recommend utilizing the “Insight Tag” option.

Once completed, select “Create” at the bottom of the page.

After selecting “Create”, you will be automatically returned to the campaign group page. You need to now get the insight tag for the conversion tracking that will be added by a developer to your website. Select “Conversions” from the blurb at the bottom of the page.

A new window will open and it will list any of the conversions you created in the previous steps. Select the conversion you need an insight tag for.

Confirm all information is correct and select “Next Step.”

Select the campaign you wish to track conversions for and select “Next step.”

Confirm details including any necessary URLs and select “Update”.

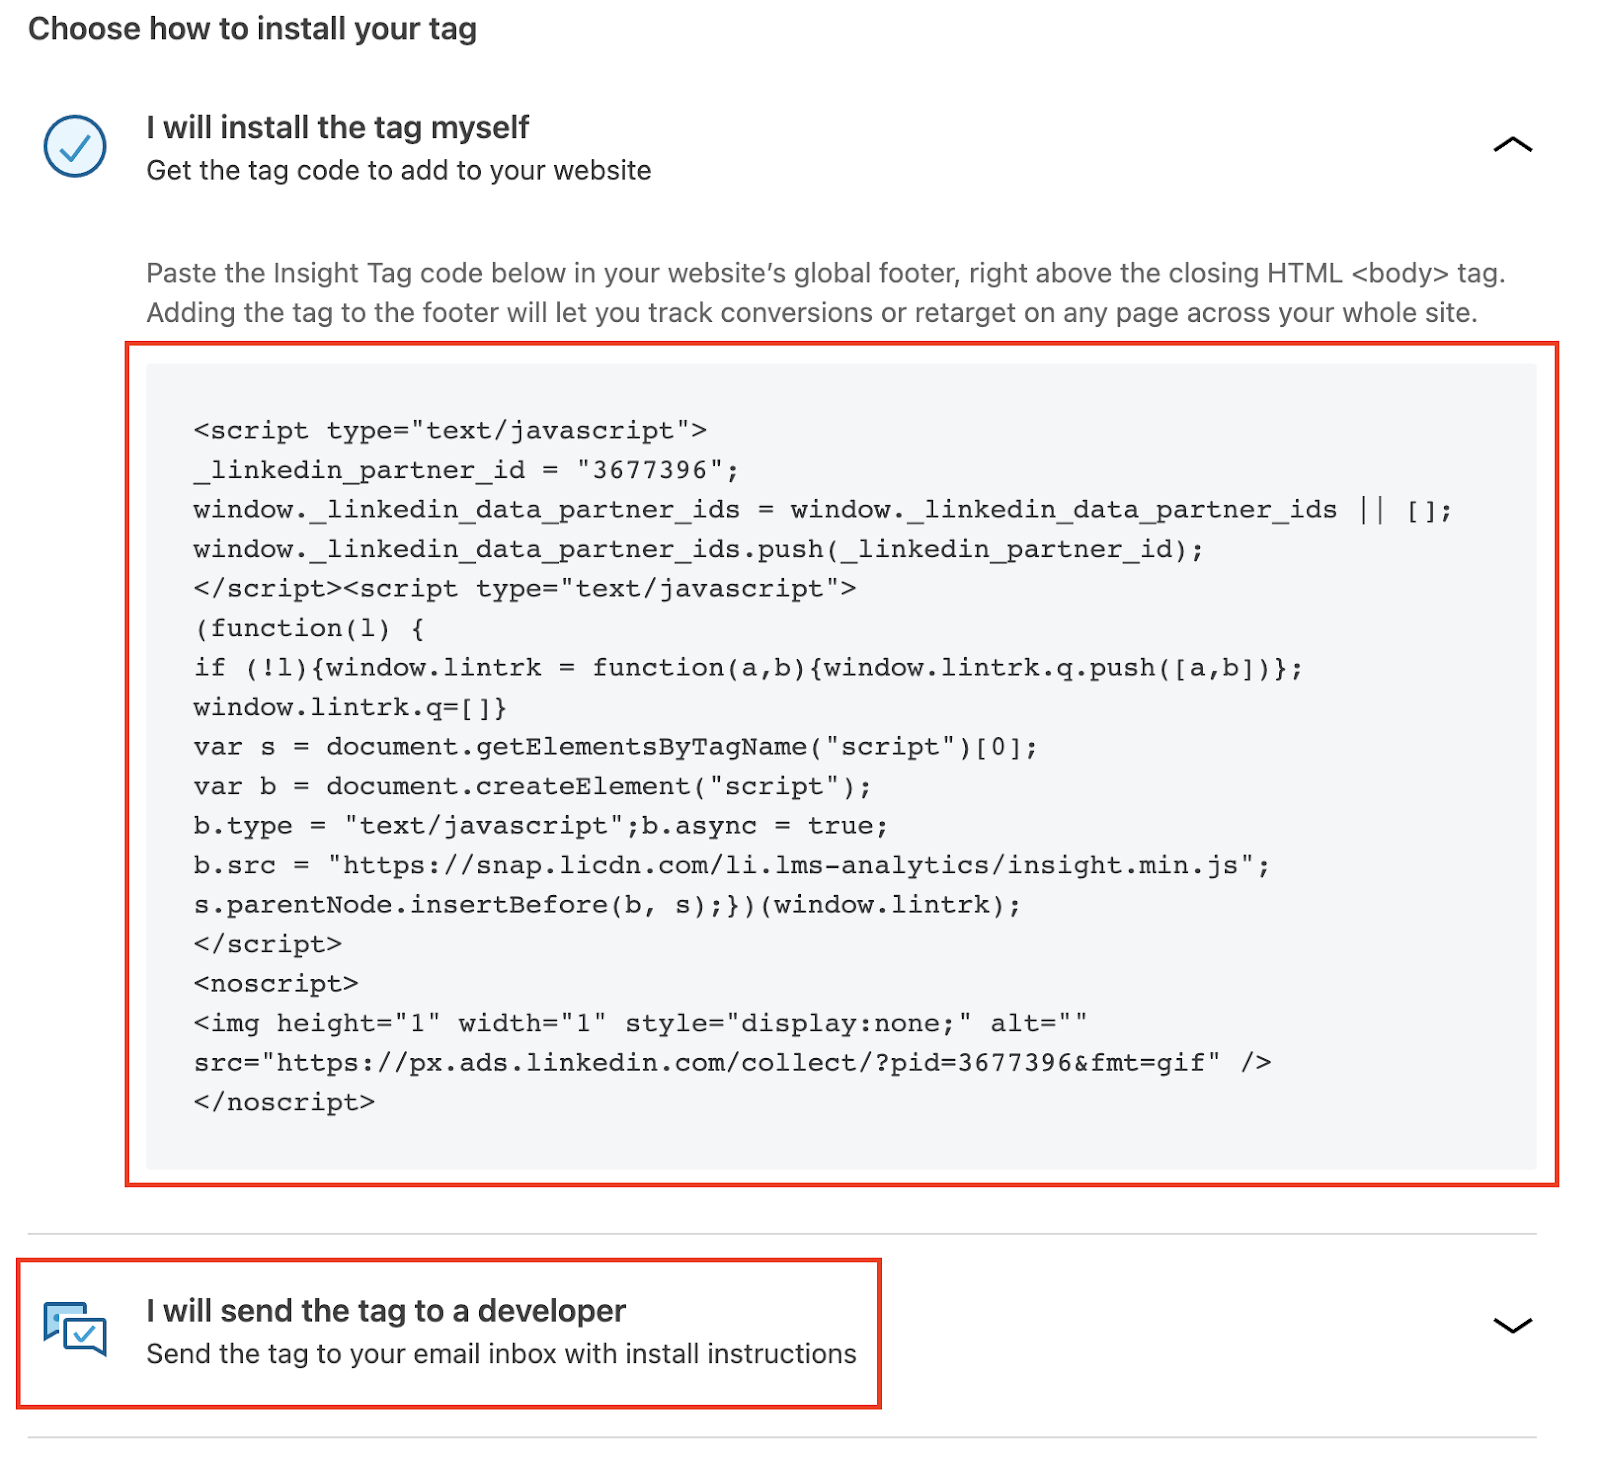
You will be taken back to the conversion tracking page. From here, select the “Manager Insight Tag” button and then “See tag.”

Choose how the insight tag will be installed on your website. If you need to get the tag to send to your developer, you can copy and paste the code directly from this page or you can choose to have the tag information emailed to you to forward to the developer.
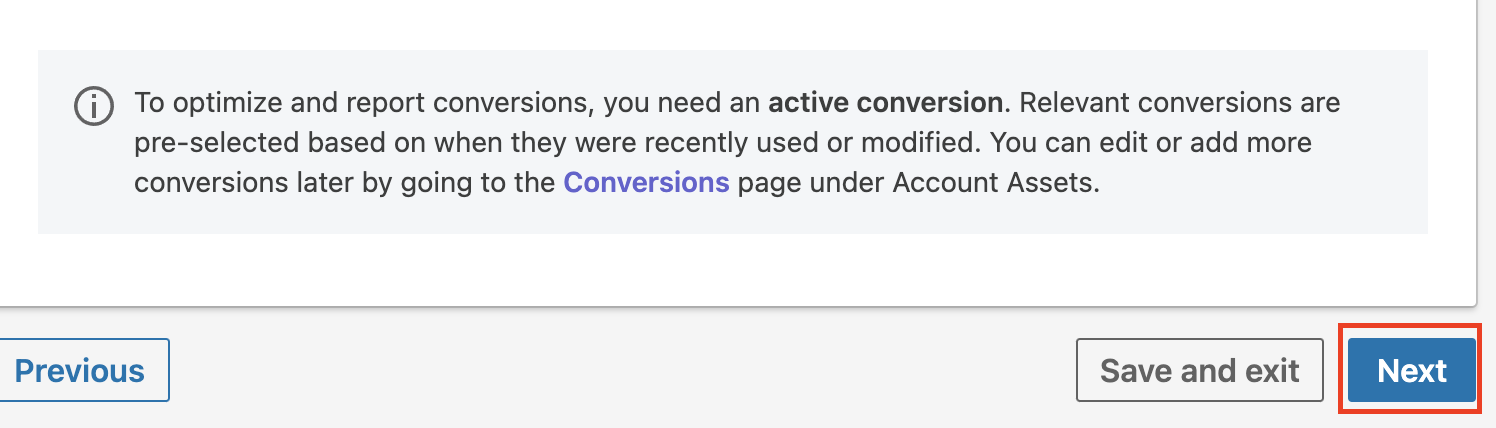
You can now return to the campaign group page to complete the ad setup. At the bottom of the campaign group page, select “Next.”
You are now at the section where you can build an ad using new or existing content.
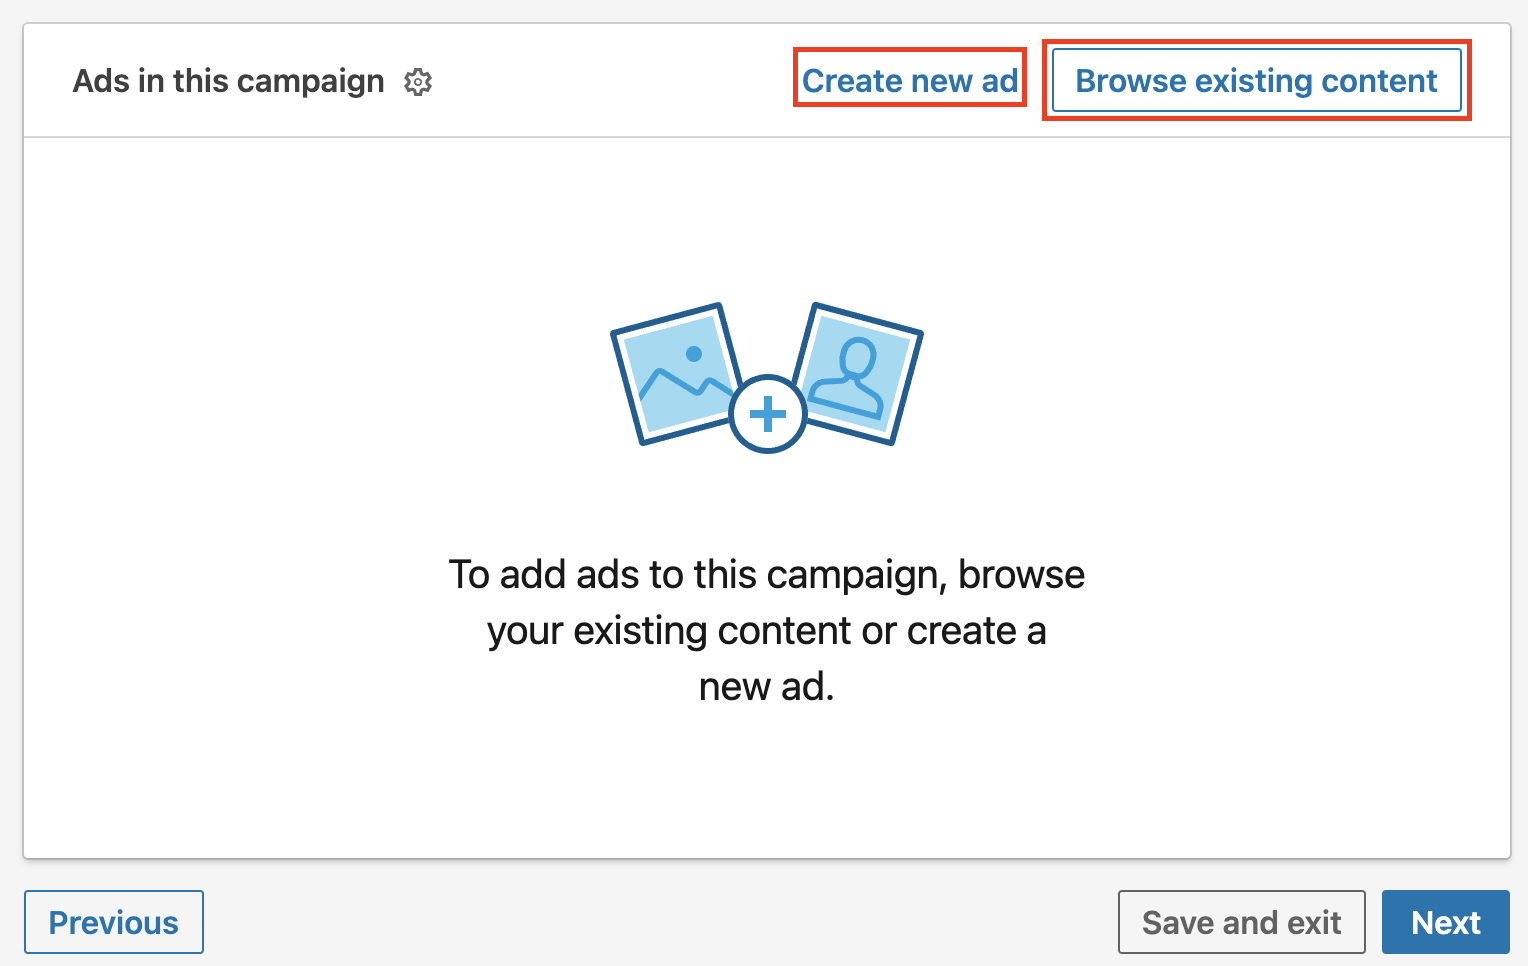
If this is your first ad campaign on LinkedIn, select “Create new ad.” Complete all sections for the new ad, confirm the preview on the right side is what you need your ad to look like, and select “Create.”

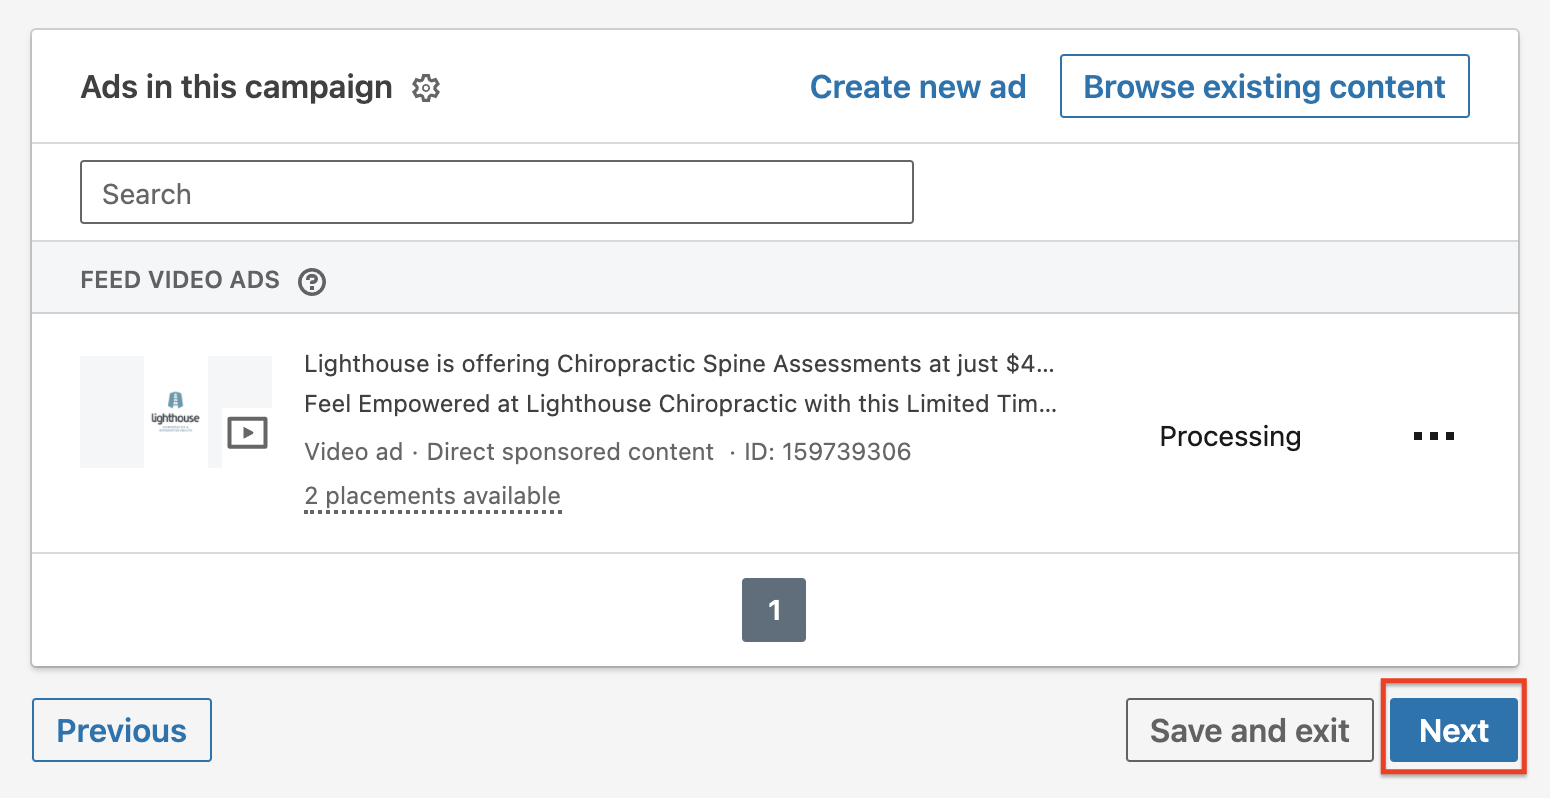
After selecting “Create” you will be automatically taken back to the campaign group page. From here, select “Next.”
On the next page, review your campaign. If everything looks as it should select “Launch Campaign” at the bottom of the page.

If you haven’t previously completed it, you now must go to the billing center to enter your billing information. Your campaign will then go live after that has been added. From the campaign manager page, select your business menu from the top right of the page and then select “Billing center.”

In the billing center, select “Add credit card.”

Complete the credit card form and select “Review order.” Next, select “Agree & Launch campaign.”


Your ad campaign should now be live. You can check by visiting the campaign manager page.

Still haven’t found what you’re looking for?
Let us know and we’ll do our best to help out!