

Have questions about paid ads, campaign optimisation, or platform features? Browse our knowledge base for step-by-step guides, FAQs, and expert insights to help you succeed.
Setting a featured image
On This Page
The featured image is the picture that represents a post everywhere except inside the post itself: in your blog listing, in a related-posts row, in a newsletter, and on Facebook or LinkedIn when somebody shares the link. It is set in its own panel, it is easy to forget, and a post without one shows up as a blank grey rectangle in every one of those places.
This is the highest-value thirty seconds in the whole publishing process. Not because the image is beautiful, but because of where it appears. A shared link with a picture gets noticeably more attention than one without, and that is entirely down to this one field.
Setting one
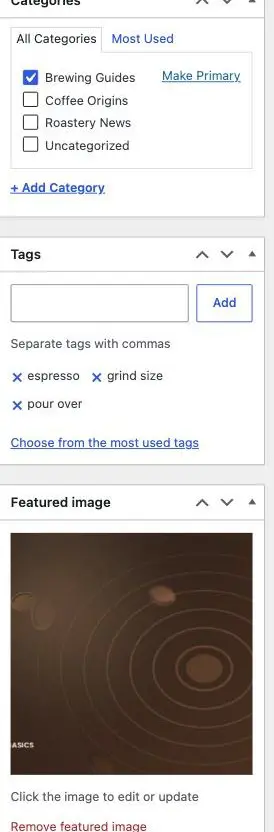
- In the post editor, scroll the right-hand column to Featured image.
- Choose Set featured image.
- Upload a new picture or pick one from the Media Library, then Set featured image again.
- Press Update or Publish. It does not save on its own.
What makes a good one
- Landscape, not portrait. Almost every place it appears is a wide box. A tall photo gets cropped to its middle, which is how you end up with a picture of somebody’s chin.
- About 1200 pixels wide and under about 250 KB. See preparing an image before you upload it.
- Readable at the size of a postage stamp. It will be shown small more often than large. One clear subject beats a busy scene.
- Keep the important part central. Different places crop differently, and the edges are what get lost.
- Avoid words baked into the image. They will be cropped, they cannot be read by search engines, and they date badly. Alt text and filenames explains why.
It usually appears twice, so do not duplicate it
On most of the sites we build, the featured image is shown automatically at the top of the post when somebody opens it. That means if you also insert the same picture as the first thing in your text, readers see it twice in a row.
Set the featured image, then start your writing with words. If you are unsure how your site handles it, publish and look at the post; it takes ten seconds and it answers the question permanently for your site.
Removing a featured image later can leave a gap. Blog listings and related-post rows reserve space for it, so a post without one can render as an empty box rather than tidily collapsing. If you want it gone, replace it rather than simply removing it, or tell us and we will check how your layout copes.
Do not forget the alt text
The featured image is an image like any other, so it wants alt text. Set it in the Media Library, not in the post: click the image, fill in Alternative Text, choose Update. It then applies everywhere that file is used.
If it does not go to plan
- It looks squashed or badly cropped in the listing. The image is the wrong shape. A landscape image roughly 3:2 or 16:9 sits happily almost everywhere.
- The wrong picture appears when you share the link. Social networks cache aggressively and can hold the old one for a while. If it still shows the wrong image after a day, tell us and we can force a refresh.
- No image appears anywhere. Check the post actually saved after you set it. This is the most common cause by a distance.
What we need if something fails
The post address, and where the image looks wrong: in the listing, on the post itself, or when shared. Those are three different mechanisms and knowing which saves a round of guessing.
Related
Still haven’t found what you’re looking for?
Let us know and we’ll do our best to help out!