This guide will walk you through using Adobe Illustrator to create a design to be sent to a professional printer. No matter what program you create your design in, these guidelines still apply.
Right from the moment you select “New File”, there’s already some things to check for. Starting your document off with the right settings will save you and your printer some frustration down the line.
Document Size
Double check the unit of measurement when creating your document – 11 pixels is very different from 11 inches!
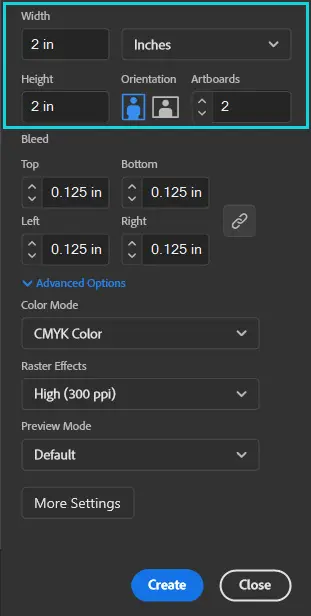
Common document sizes include:
- Letter: 8.5” x 11”
- Half-Letter: 8.5” x 5.5”
- Legal: 8.5” x 14”
- Tabloid: 11” x 17”
- Business Card: 3.5” x 2”
- Square Business Card: 2” x 2”
- Postcard: 6” x 4”
- Rack Card: 3.67” x 8.5”
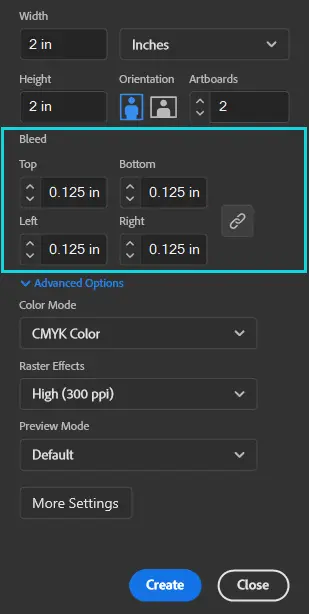
Setting Up Bleed
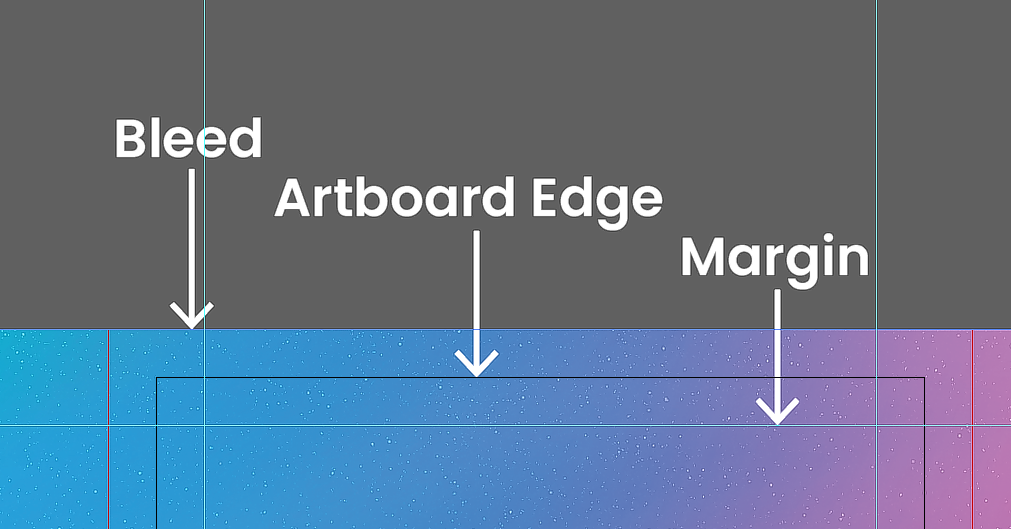
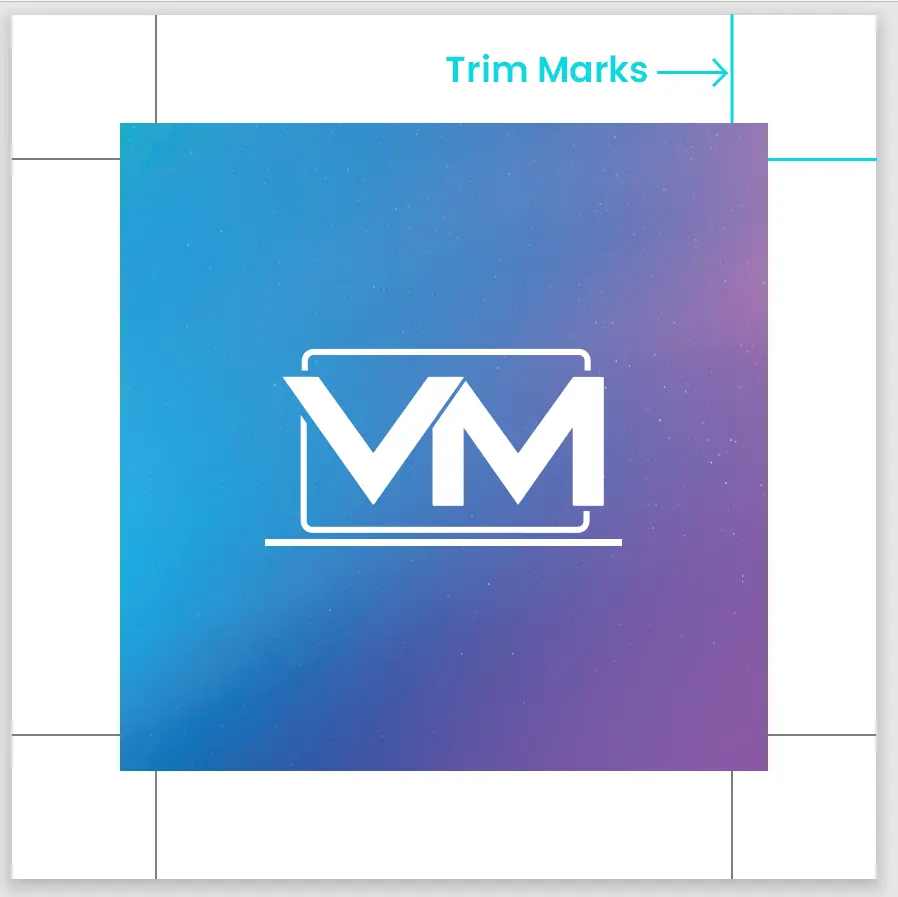
When it comes to printing, there’s a chance that your design won’t line up on the page exactly as you intended it, as the page can shift slightly during printing. That’s why you need to set up the document’s bleed settings. This is the area just outside of your artboard that ensures that ink prints all the way to the edges of the page, without the paper showing through. Typically, your bleed should be at least 0.125 inches.
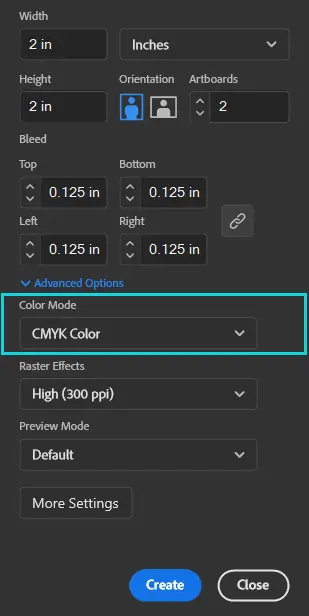
Choosing the Right Colour Mode
Your document should be in the CMYK colour mode, rather than RGB. RGB is reserved for graphics on screens, as screens are capable of displaying a wider range of colour than printed images can. CMYK stands for Cyan Magenta Yellow Key (Key being black). These are the ink colours that printers use, and they cannot be as vibrant as screen colours. By mixing combinations of these four inks, printed images are created. You can expect colours like purple to be duller in real life than on your computer, because CMYK colours can’t be mixed to produce a bright purple.
Using the RGB colour mode on a document intended for print could lead to printing a design that doesn’t look at all like the one you made. Also note that things printed on paper tend to appear darker than they do on the screen, so keep that in mind when designing.
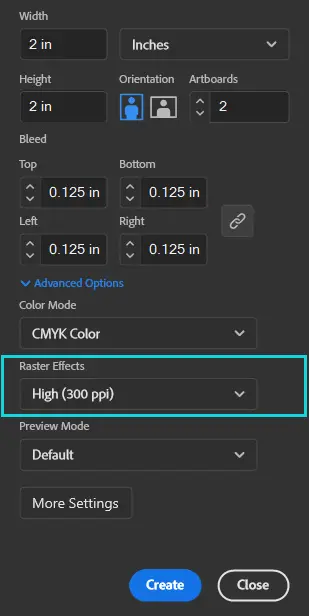
Using the Right Resolution
Ensure that your document is set up with a high resolution. Lower resolutions, like 72 dpi (dots per inch) are intended for graphics that are only being used on the web. Meanwhile, graphics that are being printed should be a high dpi, typically 300 dpi, to ensure the quality of the image. Using low dpi images in your document can cause them to look blurry when printed.
Using Margins and Guides
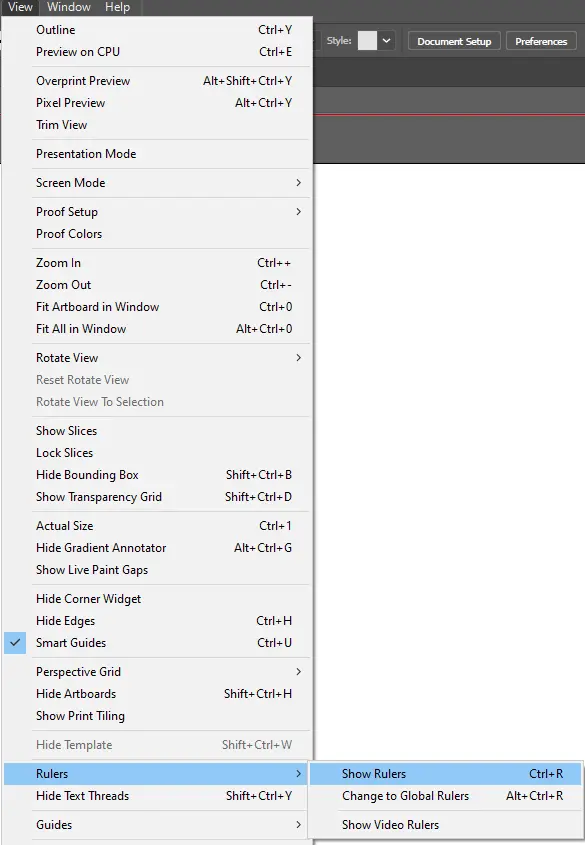
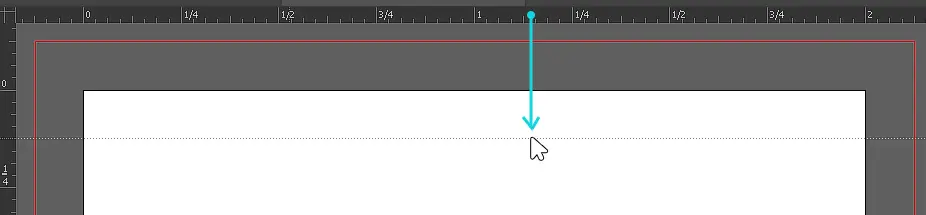
To avoid letting important information from getting cut off, it’s a good habit to leave some space along the edge of the document where text doesn’t go past. This area is called the margin, and can be created by making guides. To create a guide, click on the ruler (Go to View>Rulers>Show Rulers if the ruler is not showing) and drag to where you want it on your document.
The width of your margin can vary depending on the size of your document and your personal preference, but a good starting point is 0.5″. This can always be adjusted later.
Keeping Fonts Legible
It can be hard to tell how fonts will appear on the page when you’re designing on a computer. As a rule of thumb, you should never use a font smaller than 6pt, to ensure it can be read.
When adding text to your design, ask yourself:
- Is it too small?
- Is the weight too thin?
- Is it being used on top of a colour that is too light/dark compared to the colour of the text?
- Is it being used on top of a busy image?
- Is it a lot of copy?
Adjustments like increasing size, changing colours, and increasing line height (also known as kerning) can all help to make text easier to read.
Exporting Your File
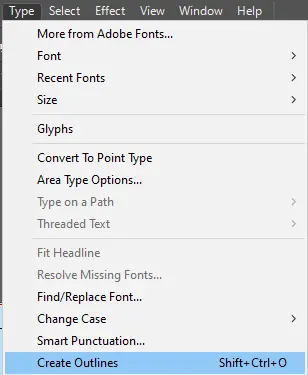
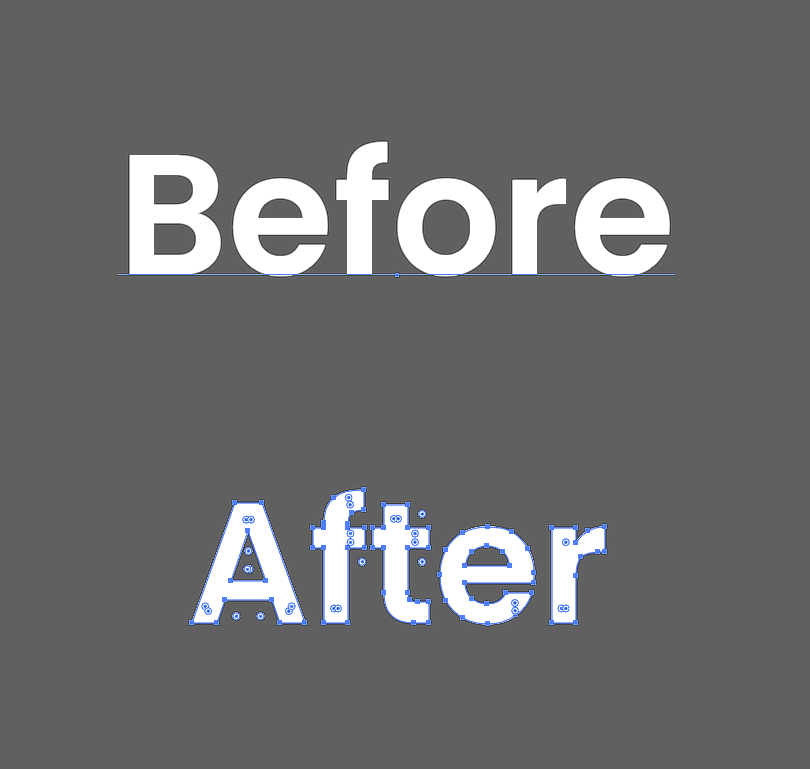
When you’re ready to send your file to print, there’s a few things to remember. If you have text in your graphic, it may be worth converting the text to outlines. Sometimes exporting editable text can cause it to shift around in the PDF. Outlining the text changes it from editable text to a vector shape. Be sure to keep both a copy of the original with editable text, in addition to the version with outlined text, in case you need to make changes in the future. To convert your text to outlines, select it, then go to Type>Create Outlines.
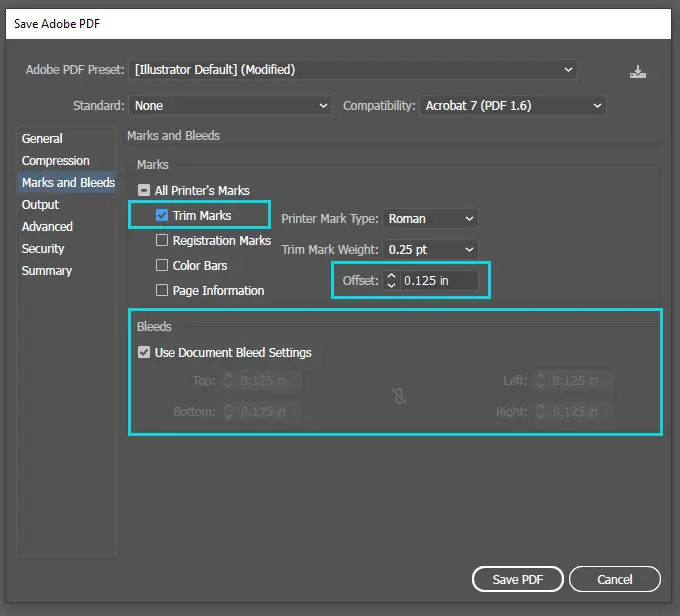
Export your document as a PDF. Be sure to select the option to use the document bleed settings, as well as to show trim marks. The trim marks show where the edges of the page are so the printer can align the page for cutting. The trim marks should be offset to the same length as the bleed. In the finished document, the trim marks appear as little black lines in the corners.
Choosing Thickness and Finish
There are a couple more decisions you must make before sending your design to print: paper thickness and paper coating. If you’re unsure of what would be best to use for your project, ask the printer.
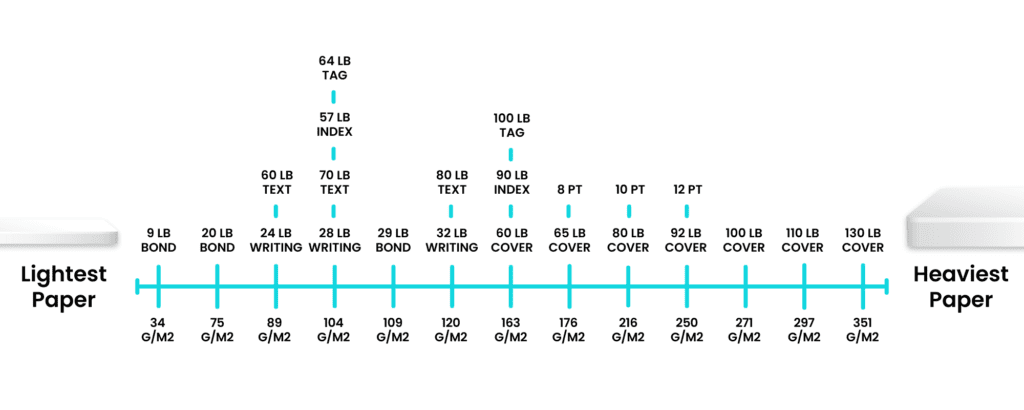
Paper thickness and weight is described using the terms cover and text stock. Cover stock is thicker, ideal for business cards. Text stock is thinner, often used for brochures.
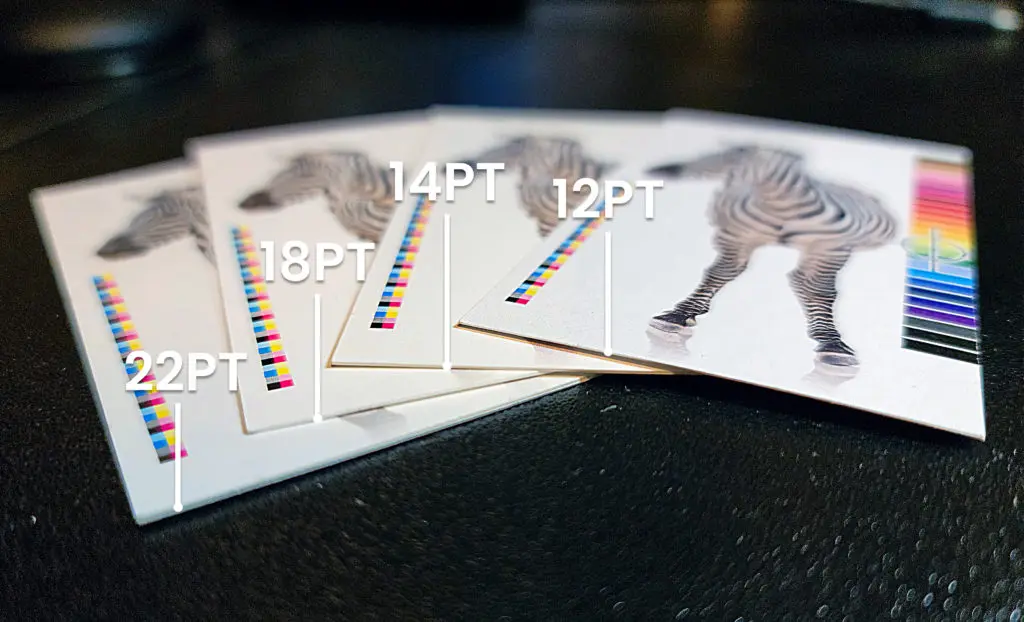
The thickness is measured in points (pt), how many hundredths of an inch thick a sheet of paper is.
Typical cover stocks:
- 12pt (common for business cards)
- 14pt (common for business cards)
- 18pt
- 24pt
Paper weight is measured in pounds (#), referring to how much a ream (500 sheets) that particular paper weighs. Generally, the heavier the paper, the thicker it is.
Typical weights:
- 60# text (printer paper, legal documents)
- 80# text (flyers, posters, brochures)
- 120# cover (postcards, business cards)
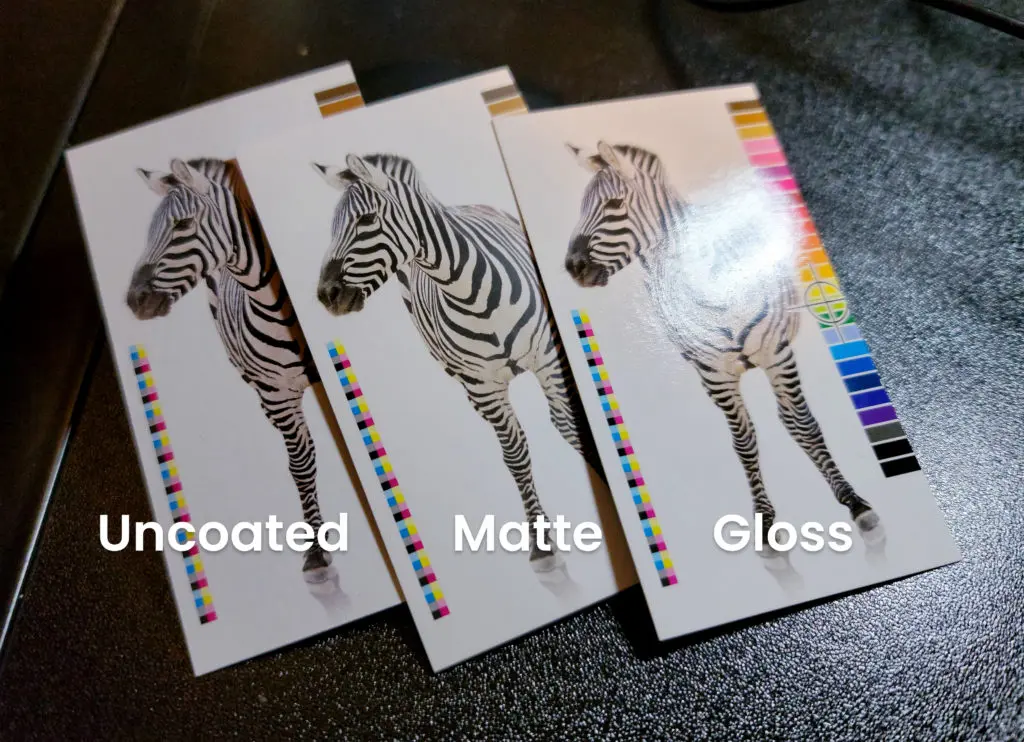
Paper can be coated or uncoated. Typically things are printed on either gloss-coated, dull-coated, or matte-coated paper, depending on how shiny you want it. Graphics printed on coated paper tends to be more vibrant. Alternatively, printing on uncoated paper can add unique texture to your design.
Sending to Print
Let your printer know all the information when you submit your order: I would like [quantity] [size] printed on [paper stock] with [finish] paper.
Example: I would like 500 2”x2” business cards printed on 14pt gloss coated paper.
If you’re unsure about anything, don’t be afraid to ask your printer for more information.